When client wants a rabbit on a Zippo, client gets a rabbit on a Zippo. Plus bunch of scrollwork.
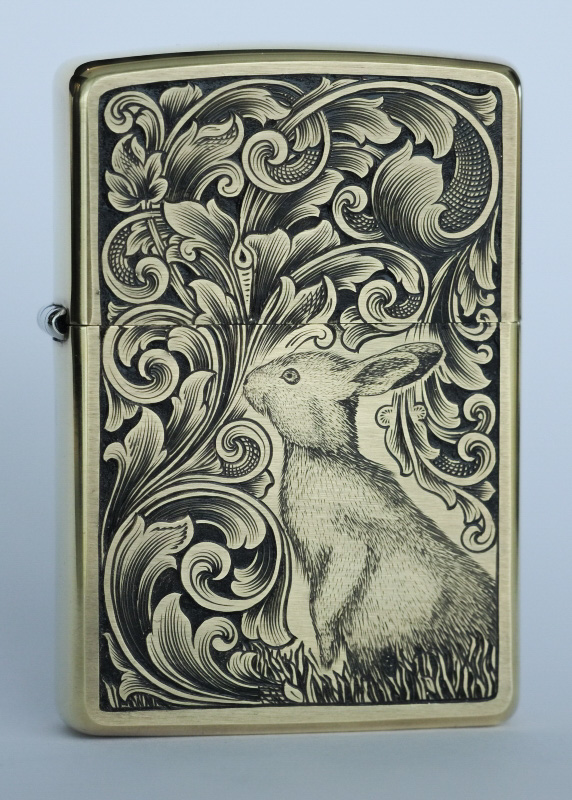
“Rabbit” Zippo
Interestingly enough, the rabbit wasn’t too hard to engrave. Just had to follow the flow of fur and everything fell nicely into place.
When client wants a rabbit on a Zippo, client gets a rabbit on a Zippo. Plus bunch of scrollwork.
“Rabbit” Zippo
Interestingly enough, the rabbit wasn’t too hard to engrave. Just had to follow the flow of fur and everything fell nicely into place.
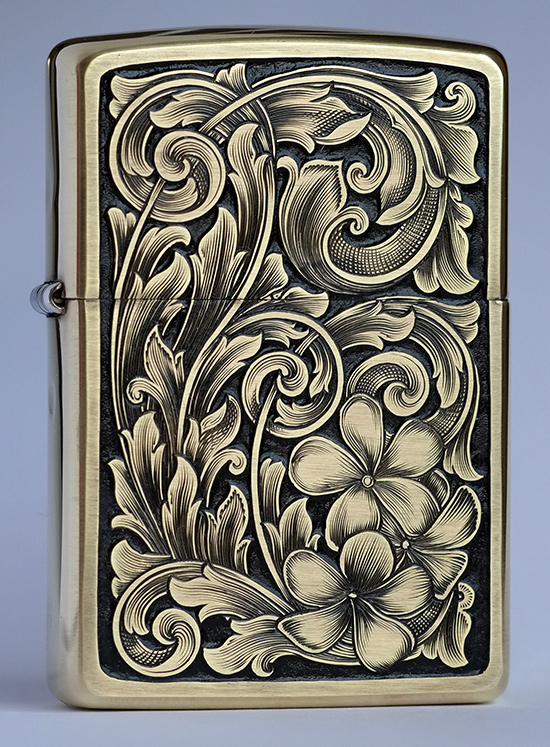
Here’s my latest Zippo, version 18. Customer requested to have Plumaria blossoms in one corner and to fill the rest of the Zippo with scrollwork.
It’s been a while since my last ring engraving, but here is the next one. This time it’s a gold wedding ring made by Ljudmila Funika-Müür.
Ring itself was only 4mm wide, so I couldn’t engrave anything too complicated there. It was also concave D-shaped, so it would’ve been very difficult, or impossible to do a precise pattern transfer to it. I went old school and drew directly with pencil to the metal. It was repeating pattern and didn’t cause too many problems. The white background color is just watercolor, so pencil would stick better and be more visible.
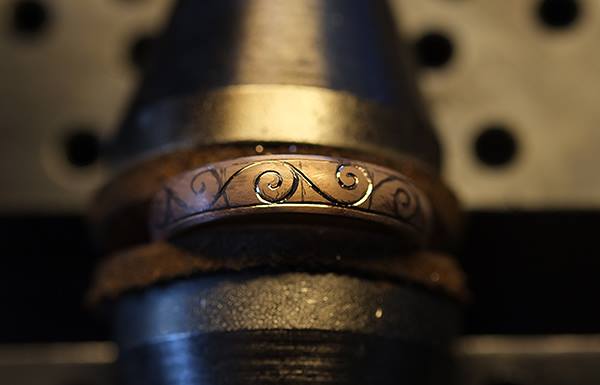
Here’s the final result with background removed and blackened. This photo is much bigger than real life, so mistakes are easily spotted. It actually looks very good.

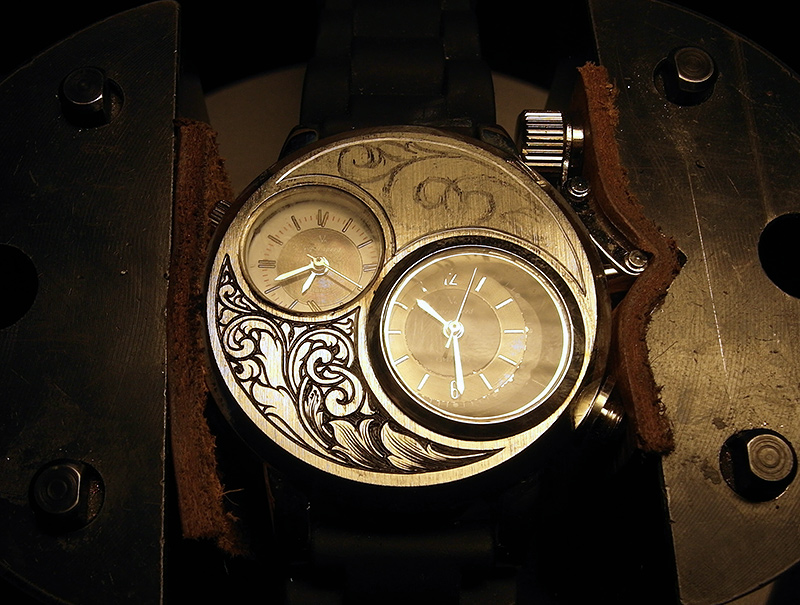
It’s been a while since my last “serious” engraving project and I needed something to practice on. Recently I ordered a cheap watch from Mini In The Box specially for this purpose. On the site it was said that the case is made from stainless steel, but unfortunately it isn’t. It is some kind of soft alloy, probably pewter, and very soft. Which also means that it doesn’t take on very fine detail. Fortunately it wasn’t too bad either.
As this wasn’t too serious project and I didn’t want to spend much time on it, I drew the design directly on the watch using China White (fancy name for white watercolor) and 0.3mm pencil. Usually I take the contours for the design and then draw the scrollwork “offline” on the paper. Here are the main backbones drawn.
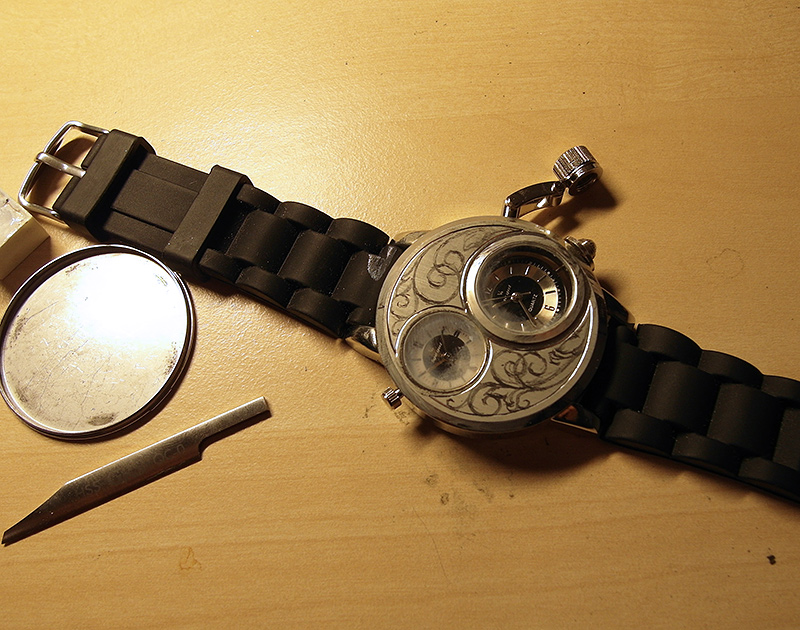
Watch engraving start
Bottom part contours are completed and shading is started.
Partially shaded
Bottom completely done, top part background is cut away.
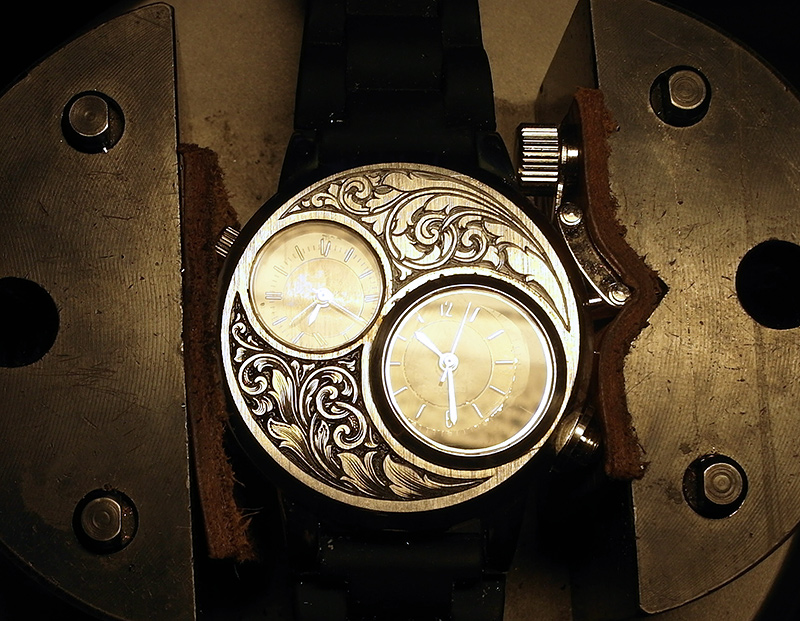
50% finished
Finished.
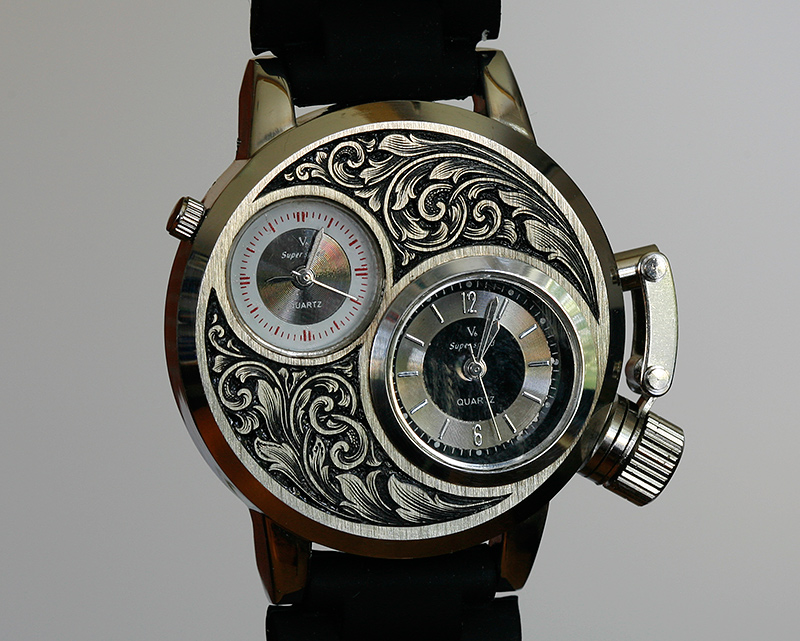
Engraving finished
Looks quite good on the wrist, doesn’t it?
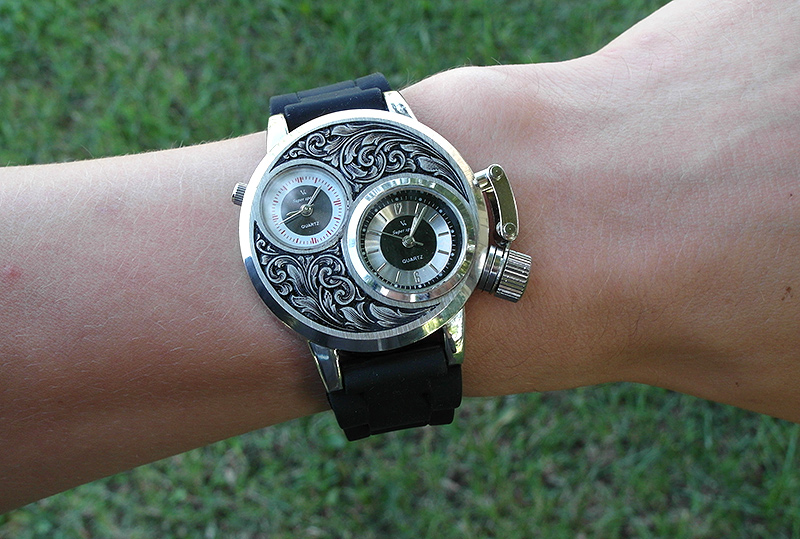
Wearing the work
This watch has also quite large sides and bevel. Maybe at some point will engrave these too.
Sometimes happens that people leave companies, even Skype. This Zippo was engraved as a goodbye gift for one such occasion.
Pattern in the corners is standard English scroll.

Skype Zippo
It’s been awfully quiet here, so an update is in order. I haven’t done much engraving in the meantime, but some other interesting stuff is in progress. More on that at later time.
But now I can present my new computer speakers – wonderful little uFonkens from Planet 10 HiFi Fonken family. Speaker elements in these are Fostex fullrange FF85WK‘s.
Enclosure is made of birch plywood and veneered with walnut burl. Looking wonderful and sounding very good with vocal music. But they do need additional sub, can’t beat physics, small speakers just don’t play low.

Cutting veneer for uFonken
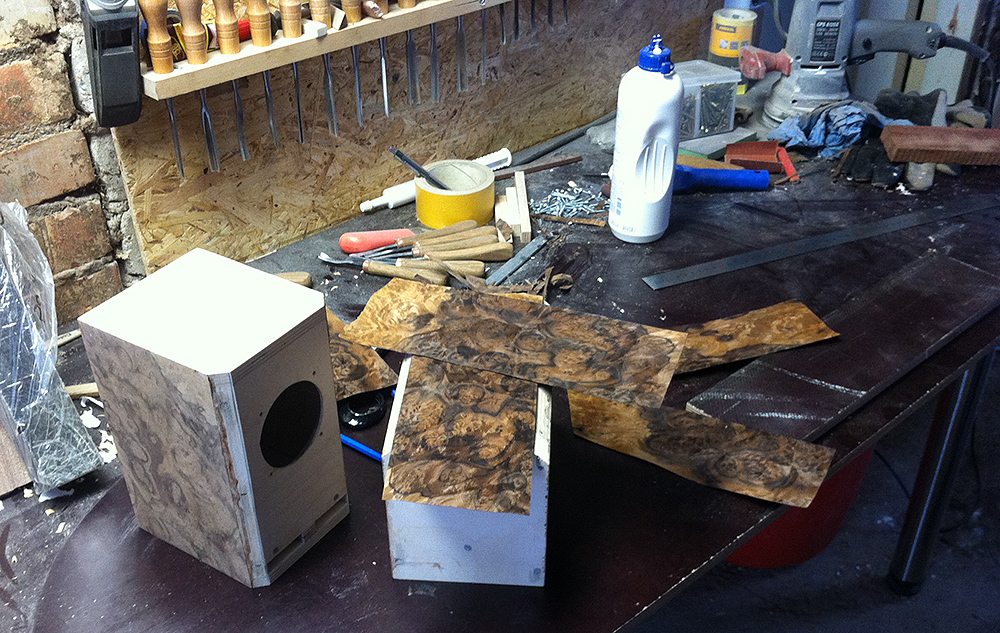
Cutting veneer for uFonken
After correct pieces are cut and matched for the sides, it’s time to glue them. Quite easy process if you have press with heat plates. Fortunately our press was just big enough for these tiny speakers.
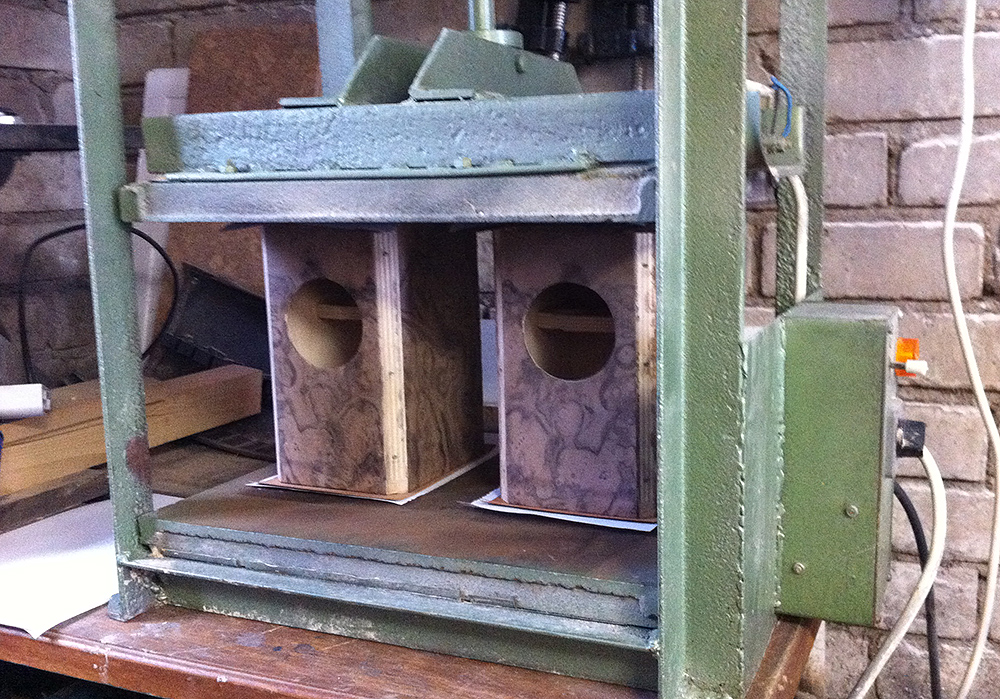
Gluing veneer under press
And here they are, ready for listening.
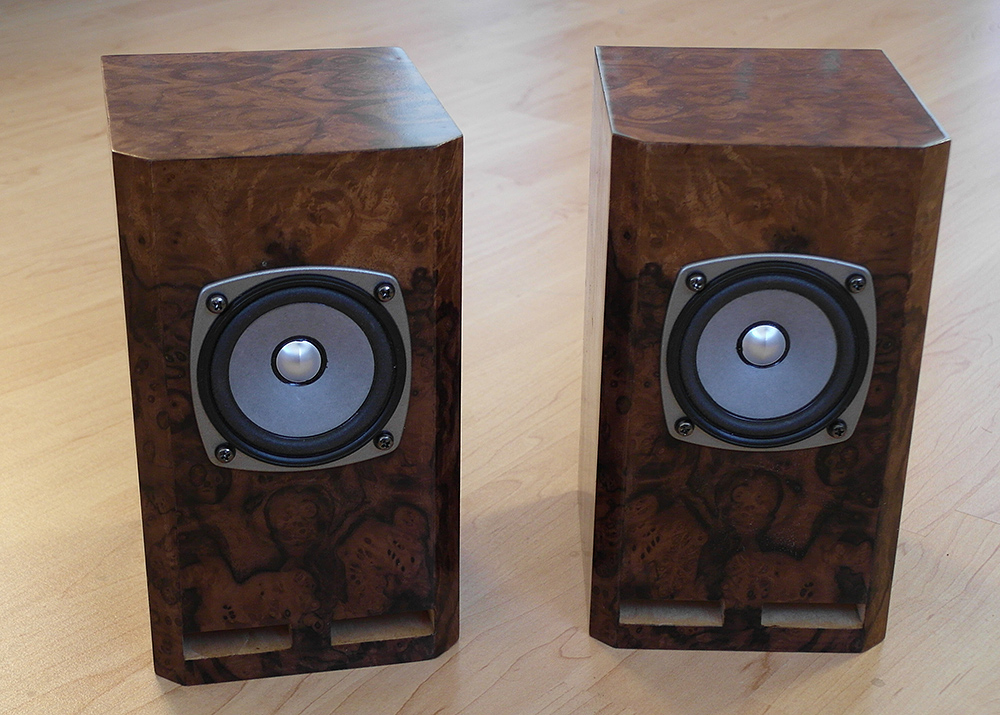
Finished uFonken speakers
Not quite sure what to do with the ports, though. Paint them brown, maybe?
It’s been a while since I made my last amplifier knobs and it was nice to come back making them. This time I had interesting challenge ahead – I had to heat blue 3 knobs. Material was regular mild steel, which blues to very nice deep black. In the past I’ve had several projects, where bluing worked out fine, but also sometimes it didn’t. Let’s just say the process wasn’t quite worked out yet.
Long story short – I had to reblue these knobs about 10 times, before I got it perfect. Fortunately it seems that I got the process worked out and with next projects I wouldn’t have to mess around so much.

Heat blued amplifier knobs
The other lot of knobs was 7 stainless ones, but also with a quirk. The top part of knob had to be concave. Not having CNC lathe and making them by hand was quite an interesting challenge. Fortunately client didn’t need them as 100% identical and slight variation was OK.
The result is here:

Stainless amplifier knobs

Stainless amplifier knobs
Here’s my latest Zippo engraving done on chrome model. Style is called bright cut, or actually a modified version of it. Surprisingly enough, it was quite easy to cut through the chrome plating and under it was beautiful brass with mirror-finished cuts.

Chrome Zippo with bright cut engraving
Quick and easy project with rather nice final result.
A project I’ve been wanting to do a long time – to engrave a signet ring. So finally one client came along who wanted exactly that and I was more than happy to do it.
Ring itself is 925 sterling silver one and was very nicely engrave-able. As this was my first such project, it was learn-as-you-go process, and learn I did.
First thing is that the engraving has to be rather deep, so the wax impression has enough contour and relief. Too much fine detail isn’t needed, because it wouldn’t be transferred to wax anyway. Of course the fine detail doesn’t hurt, because then the ring itself looks good.
Here is the final result:

Engraved signet ring
Wax impression close-up. The stars not having sharp and deep edges is because the wax doesn’t transfer all the fine detail in the engraving – it looks fine there.

Wax impression from signet ring
Here are the checks I did during engraving to see what and where needs to be changed on the ring:

Signet ring and wax impressions
All in all a very interesting and educating project.
This is my latest engraved Zippo with Winchester ’73 theme. Surrounding it is my standard fine scroll.

Winchester ’73 Zippo
Zippo is brass armor model.