Sig Sauer P226 engraving is my biggest project to date. Engraving process itself took around 320 hours and extra 80 hours was spend later on new grips and box.
In this post I’ll show the progress steps and next post will feature the completed gun and also a photo shoot results with a model.
First step was to do 24K gold inlay borders on the frame and slide.
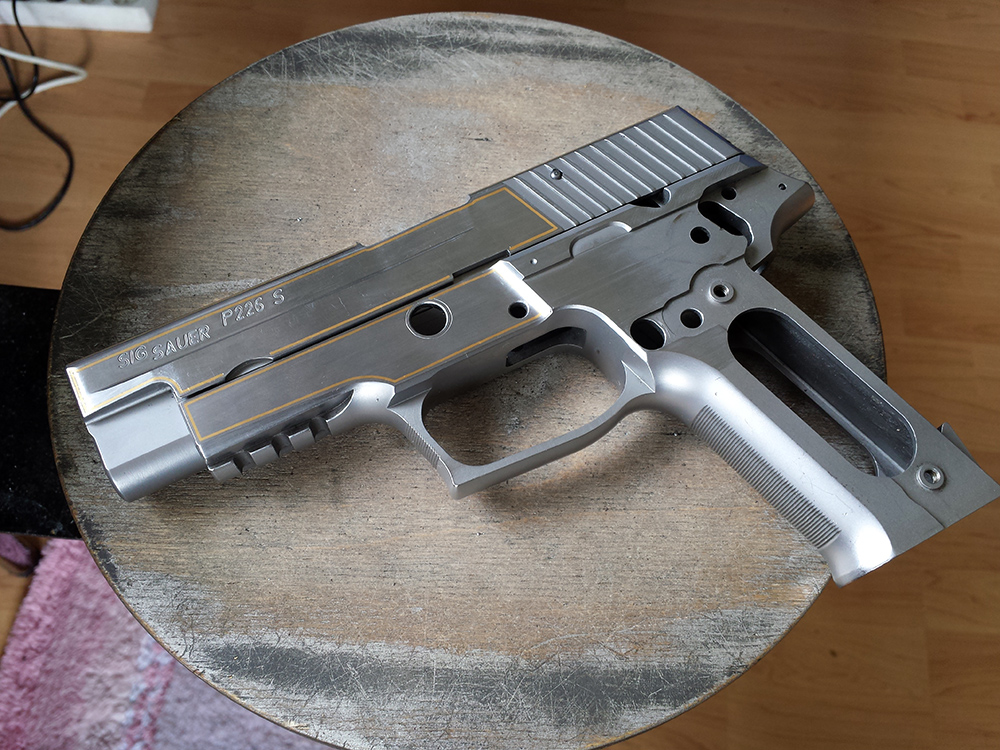
Gold inlaid into frame and slide
When borders are inlaid and scrollwork contours engraved, then the main gold inlays are done. Here you can see the pocket for skull inlay is prepared – first a pocket is cut and cleaned out, then teeth are risen to hold the gold wire.

Gold inlay process
Closer view of the gold inlay
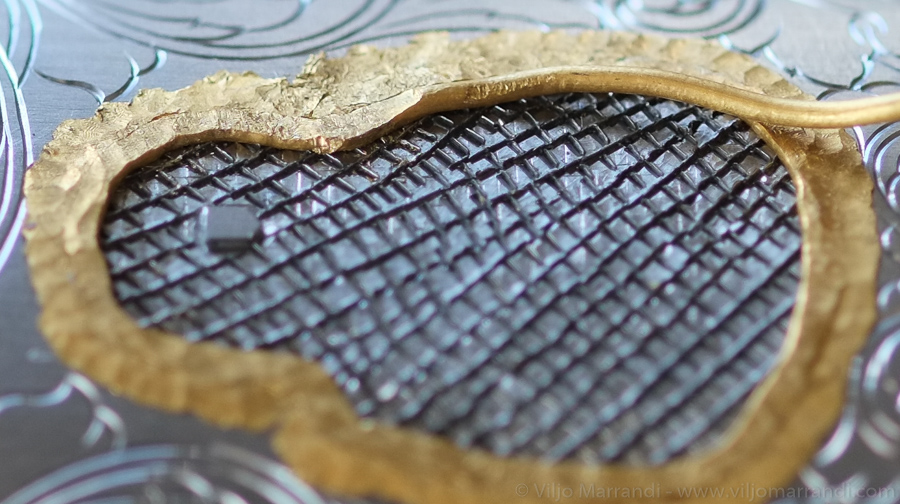
Gold inlay progress
Gold wire is hammered in, looks very rough indeed.
Gold wire is inlaid
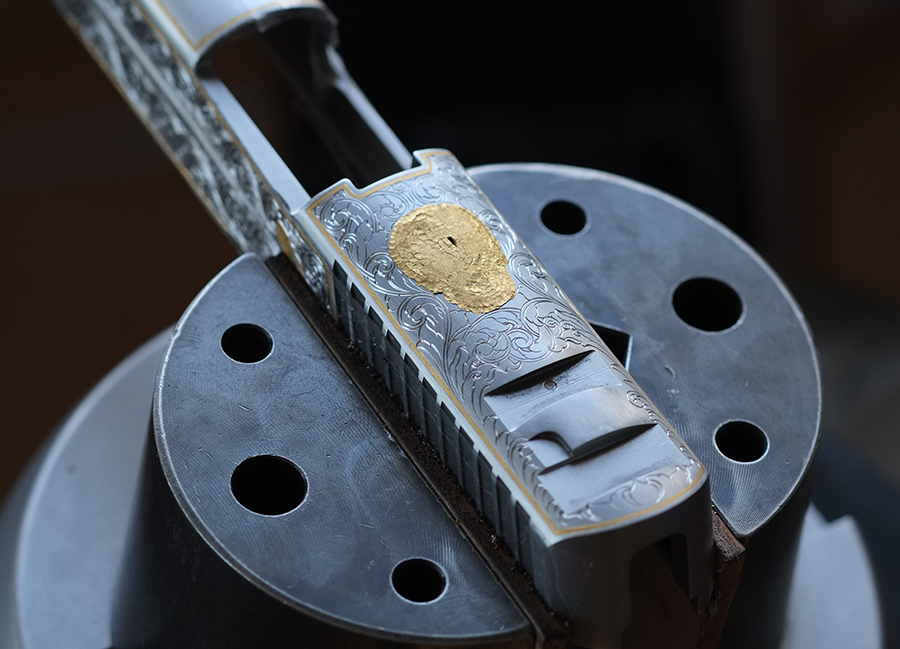
Now the gold is stoned flush with surrounding metal and taken to final finish.

Gold inlay is smoothed out
Once the gold is looking good, shading can be done on the surrounding scrollwork and on the gold as well.
Here’s the workshop view during skull engraving, notice the several skull references to get shading correct.
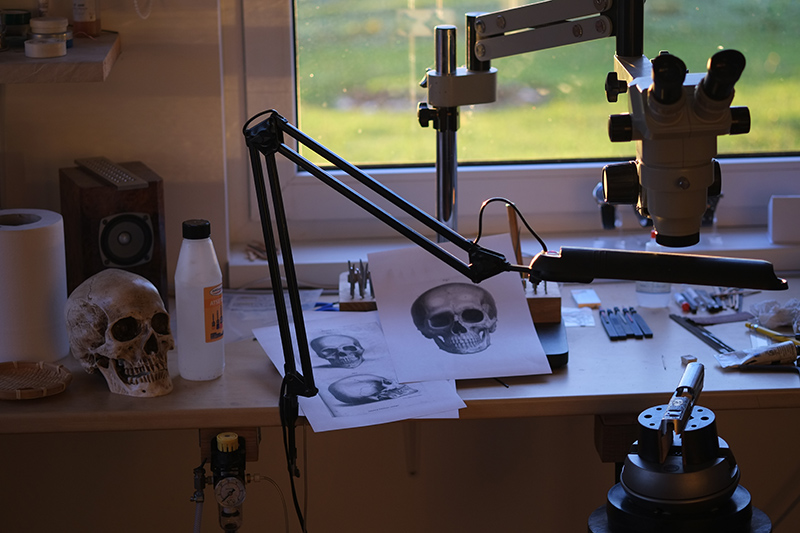
Engraving station view
Here is the final result:
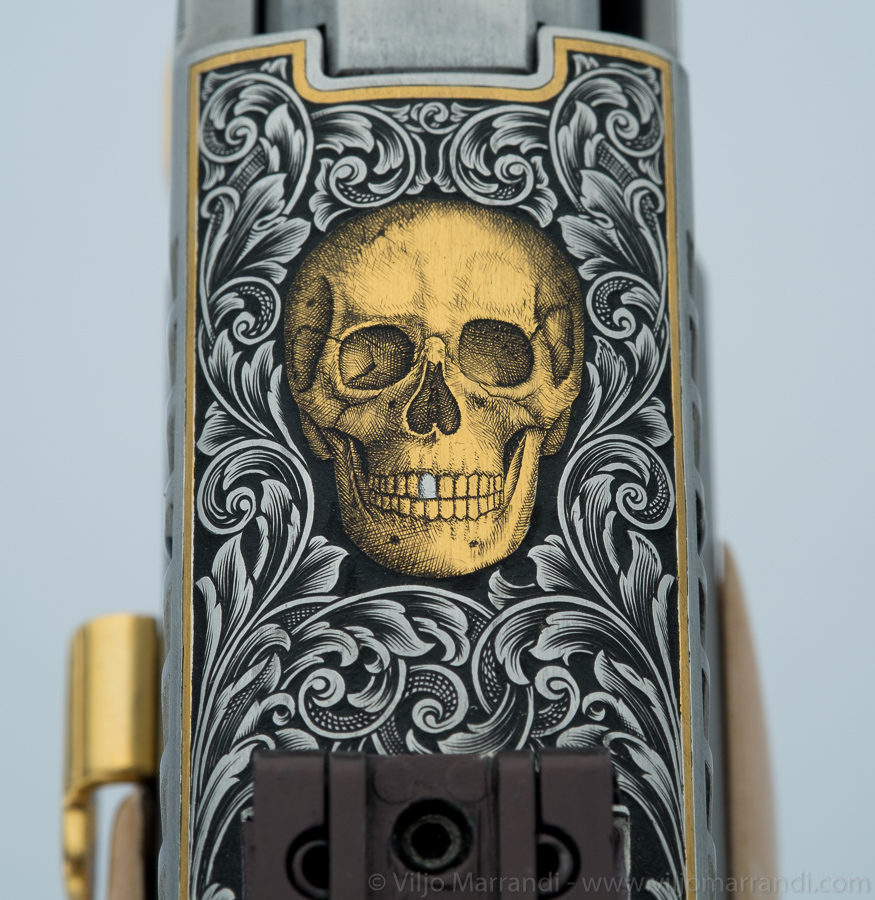
Gold skull shaded
Here’s the same process shown for the skeleton arm inlay and shading on the front of the slide.
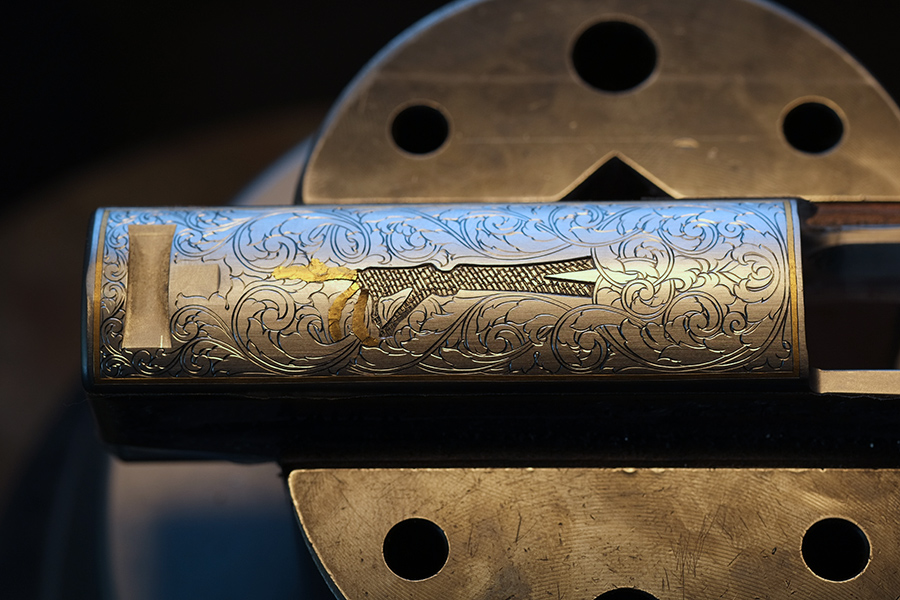
Arm pocket prepared and inlay started

Arm inlay prepared
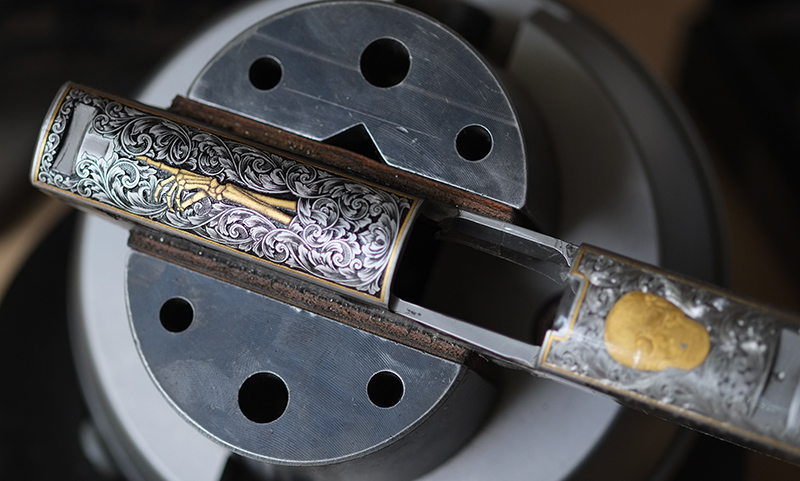
Arm and scrollwork shaded
Now it is starting to look like something!
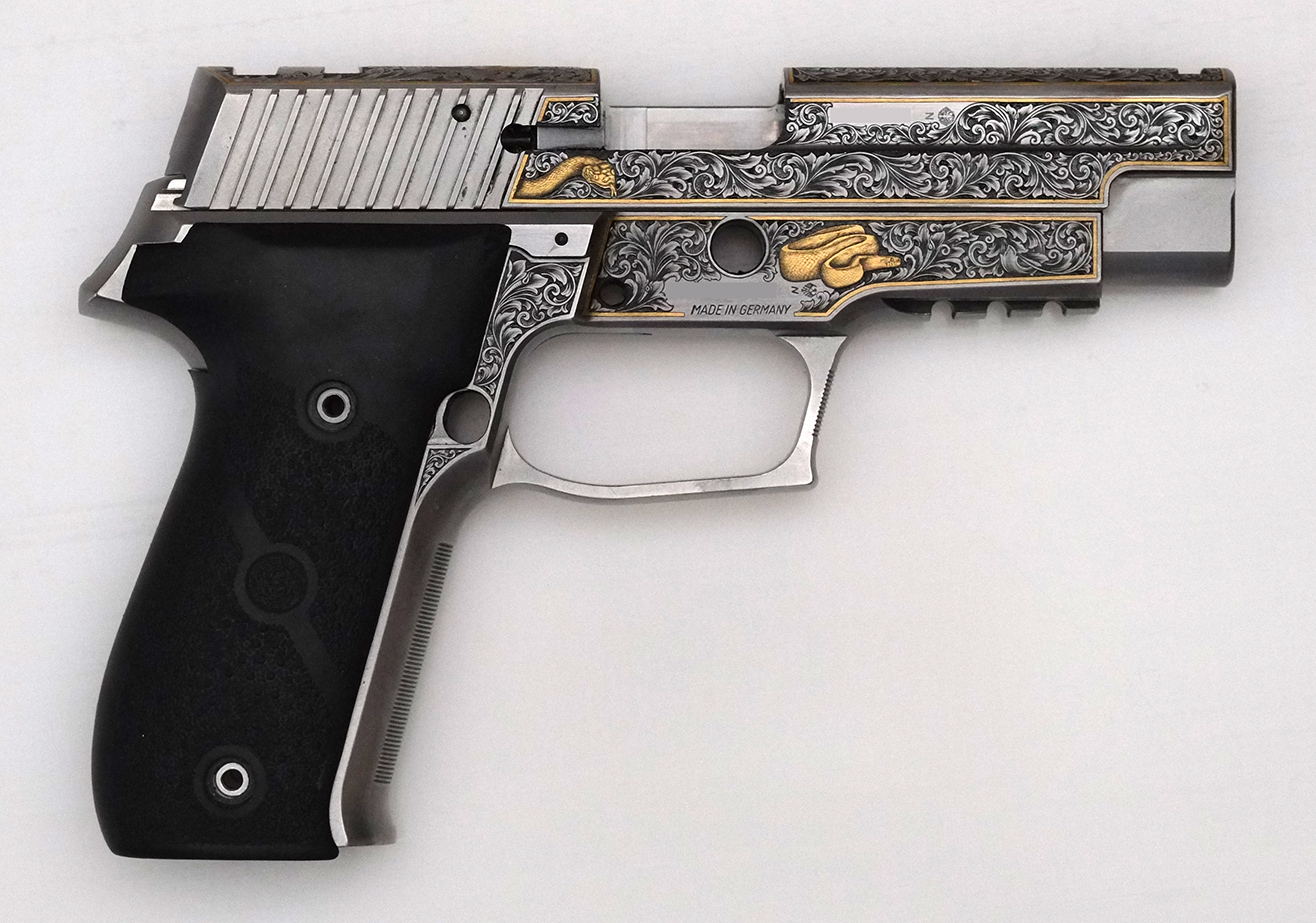
Right side view of the engraving
Final results can be seen on Engraved Sig Sauer P226 post.
One thought on “Engraving process of Sig Sauer P226”